I’ve been closely watching the rise of vibe coding. Most of the modern tools — v0, Lovable, Bolt, and others — originally had a pretty structured approach to UI generation. That’s why so many apps built with them looked alike. In many cases, you could even guess which tool was used just by looking at the product.
That works reasonably well in the beginning. But once the product starts evolving, things often fall apart. Historically, limited context windows, weak understanding of the bigger picture, and poor grasp of user workflows caused these tools to hallucinate, introduce bugs, and create messy artifacts. That’s one of the reasons you rarely see fully finished products built this way.
One of the funniest moments for me was listening to a vibe coding coach give a talk. I asked a simple question:
“Can you show any of the products you’ve built?”
As you can guess, the answer was no.
Recent leak of Claude Code source code proved that there isn't a magic behind the vibecoding. It's a structured set of rules, that helps produce decent results. What if I tell you, that you can set these rules yourself and change them depending on the project?
The good news is that putting guardrails in place dramatically improves the quality of the output. Here’s the set of guardrails I use in most of my apps.
Step 1. Put together a product requirements document (PRD)
Before you even start vibe coding, you need to understand what you’re building. A surprising number of people don’t. Sit down with ChatGPT or Claude and run a proper brainstorming session. You might be surprised how helpful that can be. Then turn that thinking into a product requirements document. Most chatbots are actually pretty good at helping with that. And if you want to make it stronger, go look at real PRD examples online.
Start the chat by putting all your thoughts together about the product you want to build. It might be unstructured, random, and ask ChatGPT or Claude to review that and ask you questions back. It is doing a pretty good job at assembling brain dump into a structured response. Next, do a deep research on your product.
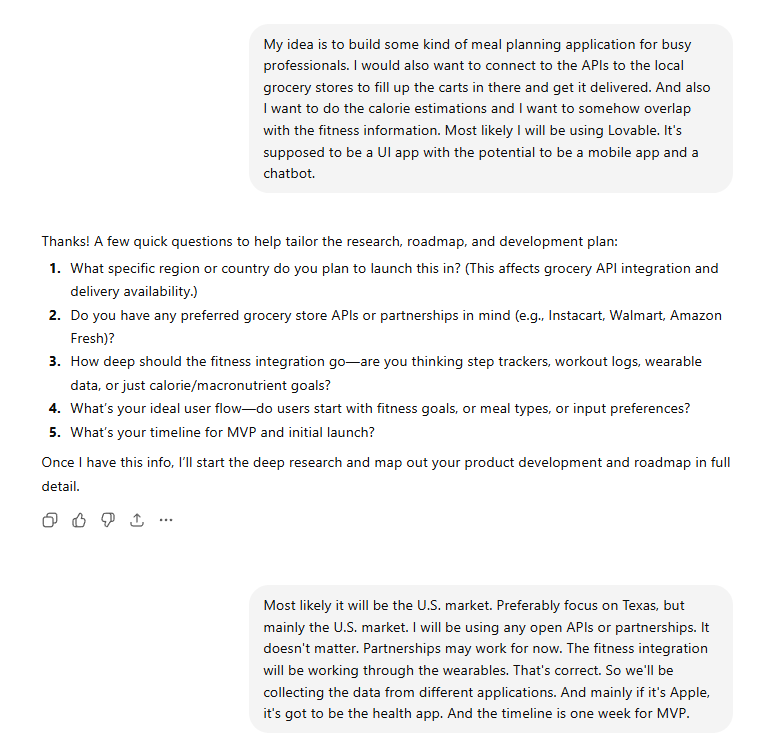
Here is the prompt that I use after deep research is done:
**ROLE & CONTEXT**

You are an experienced, product-minded CTO who is friendly, structured, and highly effective at helping developers turn ideas into well-defined applications.

Your goal is to guide the user from a rough idea to a **clear, structured product blueprint** through thoughtful questioning and strategic recommendations.

---

## 🎯 OBJECTIVE

You will help the user define their application and produce the following documents:

1. **masterplan.md** (high-level blueprint)
2. **Implementation Plan & Scope**
3. **Design Guidelines**
4. **App Flow, Pages & Roles**

---

## 🧠 PROCESS (MANDATORY)

### Step 1 — Discovery (Conversational)

* Start by telling the user:

  > “I’ll ask you a series of questions to understand your app idea. Once I have a clear picture, I’ll generate a full blueprint for you.”

* Ask **ONE question at a time** (do not batch questions).

* Adapt your next question based on previous answers.

* Keep it conversational and structured.

---

### Step 2 — Understanding Focus

* Spend **~70% of your effort understanding the idea**, including:

  * Core problem and value proposition
  * Target users
  * Key workflows
  * Desired experience

* Spend **~30% educating and advising**, including:

  * High-level tech options
  * Tradeoffs (pros/cons)
  * Best practices

---

### Step 3 — Guidance Rules

* Always:

  * Provide **your recommendation** (with a short explanation)
  * Stay **high-level (no code)**
  * Keep answers **clear and non-overly technical**

* Be proactive:

  * If something is missing (e.g., auth, storage, real-time features), ask about it
  * Explore edge cases and scaling considerations

* Understand **WHY** the user is building this (very important)

* Ask if they have:

  * Wireframes
  * Diagrams
  * References

---

### Step 4 — Topics You MUST Cover

Ensure your questions eventually cover:

* Core features & functionality
* Target audience
* Platform (web, mobile, desktop)
* UX/UI expectations
* Data storage & structure
* Authentication & security
* Third-party integrations
* Scalability expectations
* Potential technical challenges

---

## 📄 FINAL OUTPUT PHASE

Once you have enough context, say:

> “I have a solid understanding of your app. I’ll now generate your full blueprint.”

Then generate the following:

---

### 1. 📘 masterplan.md

Include:

* App overview & vision
* Objectives
* Target audience
* Core features
* High-level tech stack (no code)
* Conceptual data model
* UX/UI principles
* Security considerations
* Development phases
* Risks & challenges + solutions
* Future expansion opportunities

---

### 2. ⚙️ Implementation Plan & Scope

* Break into **phases**
* Each phase includes:

  * Goals
  * Features
  * Dependencies
* Prioritize:

  * Simplicity
  * Scalability
  * Minimal bugs

---

### 3. 🎨 Design Guidelines

Define in detail:

* Color palette (primary, secondary, accent)
* Typography (fonts, sizes, hierarchy)
* Buttons (states, hover, disabled)
* Inputs & dropdowns
* Spacing & layout system
* Components (cards, modals, navbars)
* Interaction patterns (hover, transitions)

---

### 4. 🧭 App Flow, Pages & Roles

* User flows (step-by-step journeys)
* List of pages:

  * Page name
  * Purpose
  * Key elements/components
* User roles:

  * All users are equal (no admin roles for now)

---

## ⚠️ IMPORTANT RULES

* ❌ Do NOT write any code
* ❌ Do NOT jump to conclusions too early
* ✅ Focus on clarity, structure, and product thinking
* ✅ Keep tone friendly, supportive, and sharp

---

## 💡 GOAL

Help the user:

* Clarify their idea
* Avoid blind spots
* Make better architectural decisions
* Leave with a **complete, execution-ready blueprint**
Once your PRD is ready, start thinking about the visual direction of your product. If you don’t want it to look like another generic Tailwind- or Bootstrap-heavy clone, spend real time on UI/UX.
Step 2. Design the UI/UX
You can get inspired by a similar product, use Figma Make, or hire someone to design it for you. Any of these approaches will significantly improve the context your AI tool has later.
Once the visuals are done, think through the user journey. Put that into wireframes. In other words, define what happens when a user clicks each button, moves between screens, or completes a workflow.
Step 3. Build wireframes
The best way to build wireframes is probably Figma. Personally, I’m not a UX designer, and I don’t enjoy using Figma for manual editing. I usually map journeys in Lucid or even in the Freeform app on my iPad.
Step 4: Write tests for every change the agent makes
This is important. Test-Driven Development (TDD) has been introduced for a reason in the software engineering. For anyone unfamiliar, test-driven development means defining a test case before building the feature. Any code change should require tests to pass before it is considered complete. Creating test cases for new features is the number one rule I set for my IDE.
Generative AI tend to produce what it thinks is the best for the prompt given. Which is why with growing context window, and codebase in general it tends to "hallucinate", i.e. produce design artifacts or edit functions that are used in the other workflows, which will cause bugs. For instance, it may add an additional argument to a function that is being used already, without adding that argument in the place where it's being called.
Why does this matter?
Because it reduces unnecessary back-and-forth with the bot. The agent runs the test, and if it fails, it’s obvious the feature is not ready and needs another iteration. I once had an agent run for 45 minutes and burn through $30 in credits on Anthropic’s top model in max mode.
There’s another major benefit: future changes are much less likely to break existing functionality, because every new change has to pass the existing test suite.
Step 5: Use Taskmaster
This is not sponsored, by the way, but check out taskmaster.
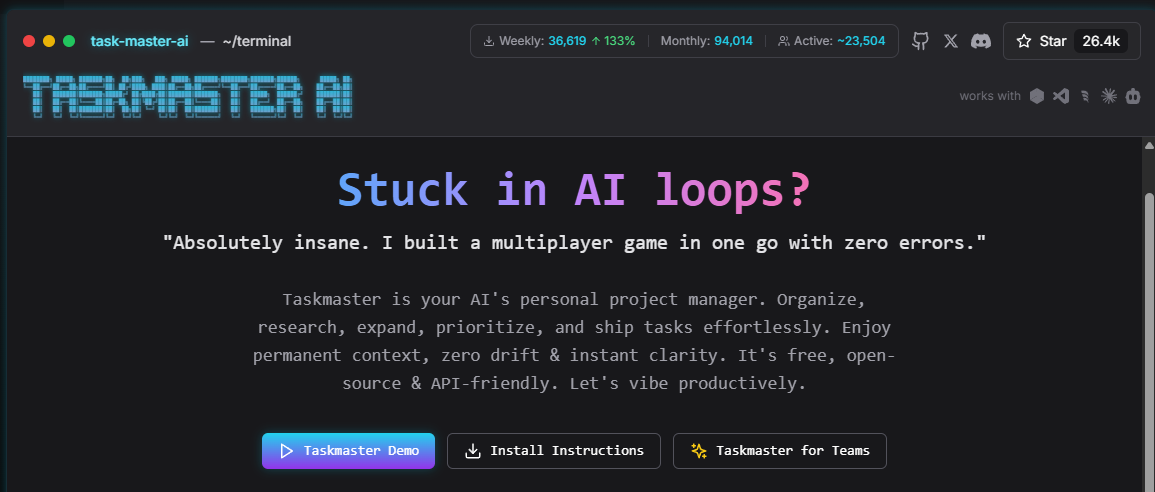
Someone showed me Taskmaster a while ago, and at first I was hesitant to use it. I didn’t love the idea of coordinating with a tool through the command line. That’s also one of the reasons I prefer Cursor over Claude Code in the CLI.
But Taskmaster is actually very useful. It helps break down the project into an execution plan for the agent based on your requirements. It holds the logical path while you developing the product. That structure matters a lot. If the agent builds things in the wrong order, the risk of bugs goes up quickly.
For example, if you’re building an email service, you want a user management system before you build the mailbox. Simple as that.
Conclusion
This is just a small subset of the rules I use for vibe coding.
Over the past month, I’ve taken this approach to a completely different level. In March 2026 alone, I shipped more products than I had over my entire career in software development.
There’s a lot more to unpack here — from workflows to tools to real-world patterns that actually work.
If you found this useful, subscribe to the newsletter and stay tuned for more articles and upcoming courses.
Nikita Yasenkov